You all know I make a lot of capes for my kids to dress up in.
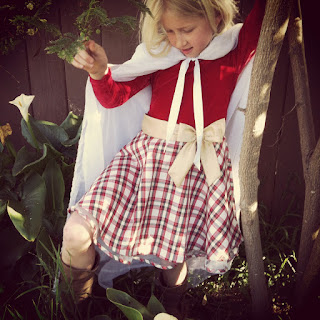
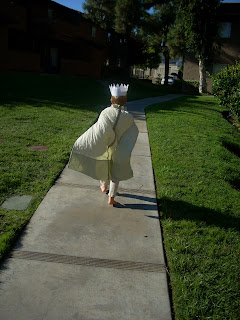
With the Boy’s Hobbit themed birthday part coming up this Saturday I’m about to enter full costume mode again. Which caused me to remember that I keep saying I will some day post a cape making tutorial. Well, that day has come. Just in time for all you last minute costume makers out there.
However, since I am not actually sewing a cape right now you get my awesome hand drawn illustrations, which I hope are clear.
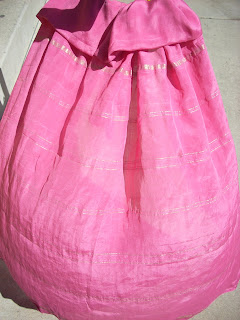
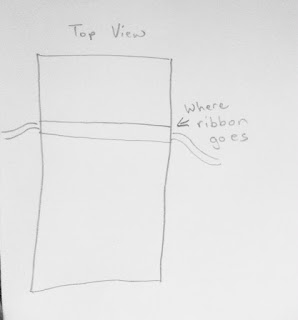
Start with a long straight piece of fabric, usually about 45 inches wide. If when you buy it there aren’t any words printed on the side and they are finished that will save you a step and you won’t have to hem the sides.
Hold it up to your child and decide how long you want it to be. Grab it right at the place where the neck will be and then measure about another foot along to use for the hood. You will lose about 4 inches when you do the tie at the neck so factor that in before you cut.
Now, the simplest way is this.
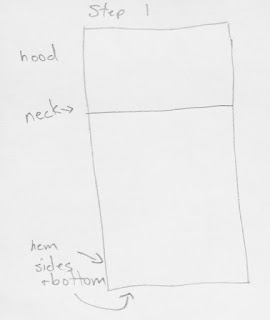
Step 1
Hem any unfinished edges at the bottom and sides.
Step 2
Fold the hood section down over the body part, measure 1-2 inches and sew a seam from one side of the cape to the other.
This should give you a nice little tunnel right at the neck of the cape where you can pass a ribbon through to gather it and tie it on.
But I don’t like to just leave that flapping around like that so….

Step 3
Press that fold flat against the cape, you can fold it either up or down, depending on which you would like to give more length to, the hood or the cape part. Whichever way you fold it will lose length. Basically it’s like a fan fold that you are now going to sew down.
Now you are going to sew right along the first fold, and pin it down to the fabric underneath. Just one more straight seam.
Got it? Now it should look like this.
Now you can take a ribbon, I like the grosgrain ribbon that you can buy at Dollar tree because it’s sturdy and doesn’t fray or slip around very much, and slide it through that little tunnel. Put a safety pin in one end so you have something to feel and push through with your hands. Or tie a knot. An older child can help with this part. Don’t tighten the ribbon yet.
Step 4
Lay it flat and fold the whole thing in half length wise. Now sew the 2 raw edges together.
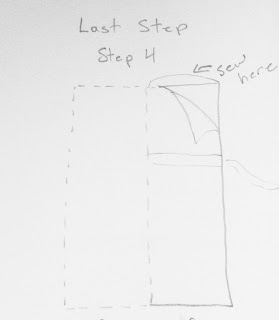
If you can, do a French seam, so the the raw edges are covered. (That really just means flip the hood inside out and sew another seam, 1/4 inch away from the fold so that all the raw edges are neatly tucked inside. If you can’t, your kid won’t care. Trust me.
Now it should look like this.
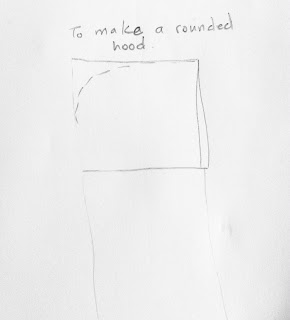
If you don’t want a pointy hood you can round it by sewing it along the line here instead of straight across, and cut off the excess.
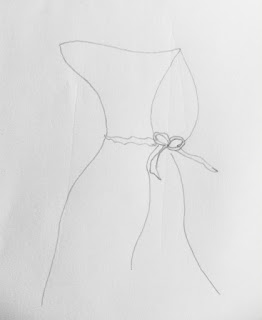
There is only one more thing to do. Gather the ribbon and decide you optimal tightness so that it settles nicely on your child’s shoulders. Then pin the ribbon on either side so it doesn’t move, and sew quickly over both places where it comes out of the tunnel thingy to hold it permanently in place. This keeps the whole cape from cinching up too tight and hanging in the middle of your child’s back and choking them with the weight.
That’s it, you’re done. Tie that thing on and have some fun.
One of these days I’ll have time to show you the reversible version of the cape, which is almost easier than this one, almost.